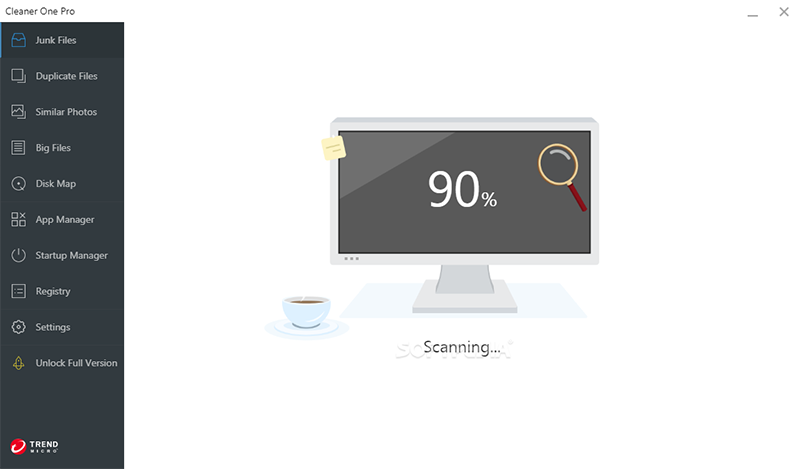
Cleaner One Pro For Mac
Being a quick optimizer, it monitors the usage of CPU, network, and memory while removing junk files, big files, similar photos as well as duplicate files.

Cleaner One Pro is an all-in-one cleaning manager which runs a quick scan and checks on your system to find about things that are taking up Mac storage. It is very simple to use and can fix most of the problems in one single click.
Product Highlights & Benefits:
-
All in one cleaner
Get rid of junk files, big files, similar photos, and any kind of junk hidden inside the Mac.
-
Application Manager
One can view and manage apps by name, size, and date. Along with that, manage startup apps and services to enhance boot time performance.
-
Privacy Protection
Get rid of leftovers from deleted apps and even Trash by using File Shredder.
-
Duplicate Files
Remove duplicate files from your system so that space could be saved for future purposes.
How to use Cleaner One Pro For Mac
It’s a very smooth process to download and install Cleaner One Pro to optimize your Mac. All you need to do is click the download button to download this app cleaner for Mac.
Download and install Cleaner One Pro on the Mac to start the working process. After that launch the application and land on the home interface. Now follow the steps below.
Working Process –
Step 1: In the Smart Scan section, click ‘Scan’. Click ‘View Details’ to get a detailed breakdown of the report.
Step 2: Go to the ‘Junk Files’ module and start the scan. Click ‘Remove’ to delete the junk files. (Recommended). Also, one selects the junk files according to your choice and removes them.
Step 3: Click ‘Big Files’ module and scan. Select the detected files and click ‘Remove’.
Step 4: Go to the ‘Disk Map’ and find detailed information about storage and disk space. Click ‘Remove’ to delete any particular files or folders.
Step 5: Click ‘Startup Manager’ to detect login items and launch agents. Toggle on or off the switch mentioning the items based on the preference.
Step 6: Select ‘Duplicate Files’ module and scan the system. Auto Select and remove the duplicate files.
Step 7: Go to ‘Similar Photos’ from the left hand panel and scan. Select similar photos and click ‘Remove’.
Step 8: Go to ‘App Manager’ to uninstall apps and leftovers. Click the application and select ‘Remove’ to uninstall the app.
Step 9: Click on ‘File Shredder’ from the left panel, drag the file or folder to be shredded and select ‘Proceed’.
